Setting up cpp on macos — различия между версиями
Материал из Wiki - Факультет компьютерных наук
Iko (обсуждение | вклад) |
Iko (обсуждение | вклад) |
||
| Строка 3: | Строка 3: | ||
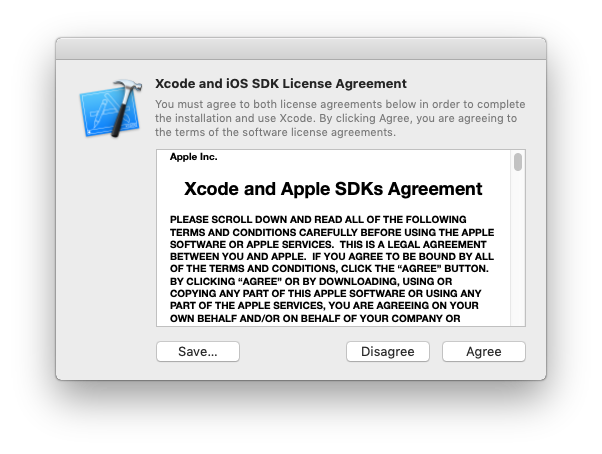
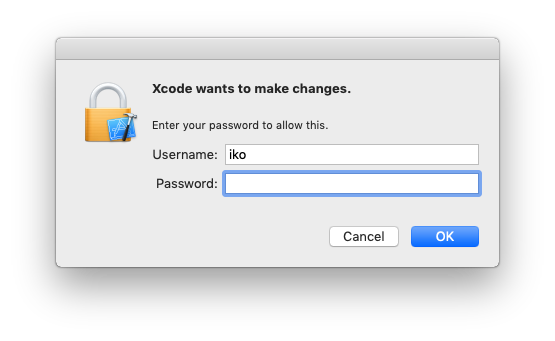
# You will be asked to read the license agreement and enter your administrator password for your computer | # You will be asked to read the license agreement and enter your administrator password for your computer | ||
| − | [[File:Setting_up_C++_on_macOS_1.png | + | [[File:Setting_up_C++_on_macOS_1.png]] |
| − | [[File:Setting_up_C++_on_macOS_2.png | + | [[File:Setting_up_C++_on_macOS_2.png]] |
<ol start="4" style="list-style-type: decimal;"> | <ol start="4" style="list-style-type: decimal;"> | ||
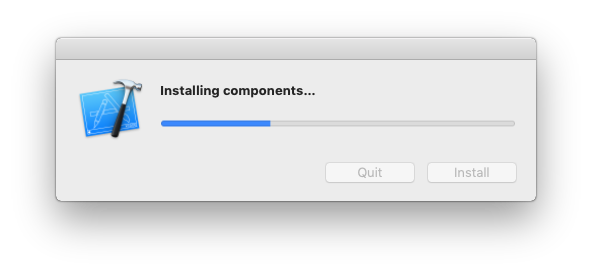
<li>Wait for Xcode to install the required components</li></ol> | <li>Wait for Xcode to install the required components</li></ol> | ||
| − | [[File:Setting_up_C++_on_macOS_3.png | + | [[File:Setting_up_C++_on_macOS_3.png]] |
<ol start="5" style="list-style-type: decimal;"> | <ol start="5" style="list-style-type: decimal;"> | ||
Текущая версия на 03:09, 9 января 2019
- Install Xcode from the App Store
- Launch Xcode
- You will be asked to read the license agreement and enter your administrator password for your computer
- Wait for Xcode to install the required components
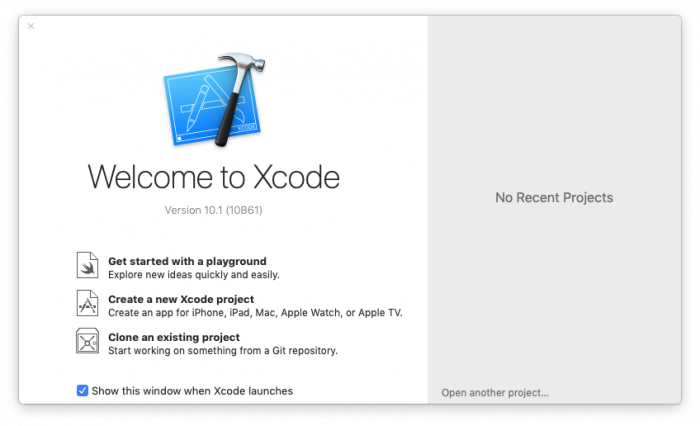
- After installation you will be greeted with the Xcode welcome window
You have now installed the developer tools and you can now start developing C++ applications.
You can manually compile programs from the command line using clang++ instead of gcc.
At this point you can either:


